Hello everyone,
I’m very excited to be writing a guest post for my dear friend Hina’s amazing blog, ‘Healthy Mom and Happy Kids’!
I am a mother of a toddler, an architect, and the founder of Cake.Paper.Scissors, a custom cake and event design studio, based in Toronto, Canada, which provides a wide array of party services, including dessert table styling, graphic printables and party favors, just to name a few.
I found myself exploring my creativity in cake design while on maternity leave, two years ago. It allowed me to use my design experience and gave me lots of room to experiment creatively. I took a few classes from a well renowned college of confectionary arts and decided I wanted to pursue this form of design, which led to the creation of Cake.Paper.Scissors.
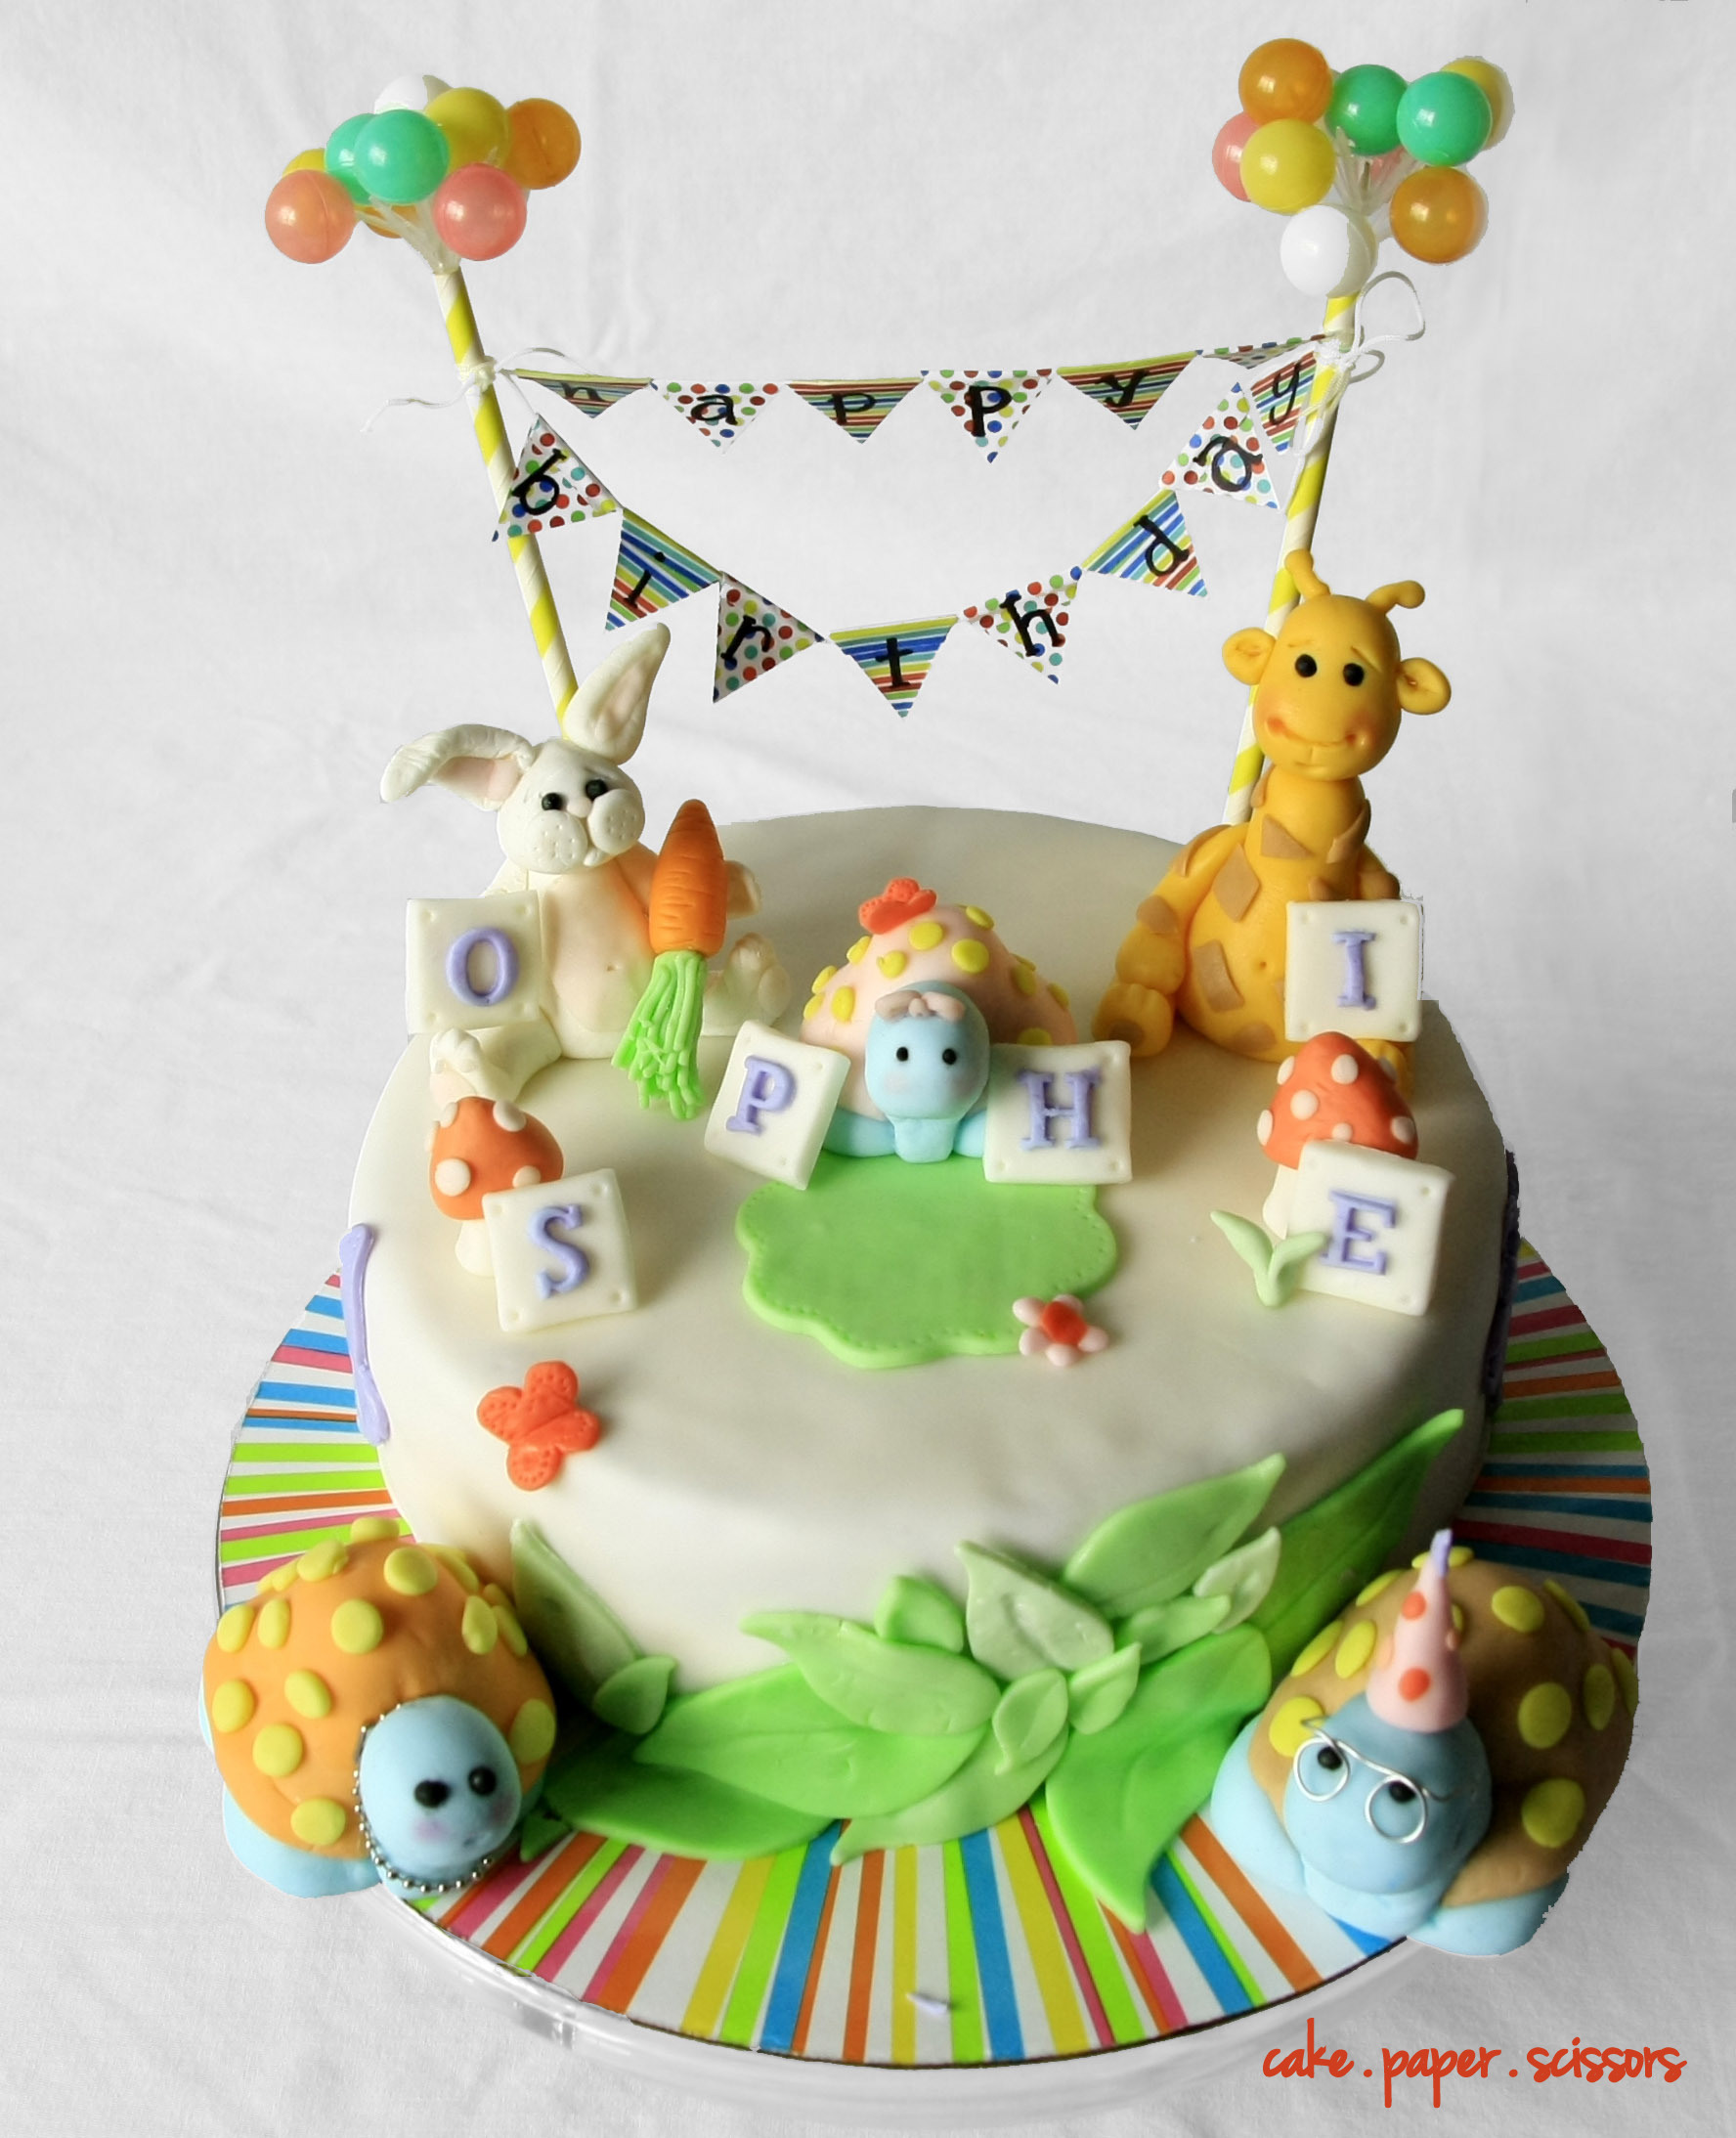
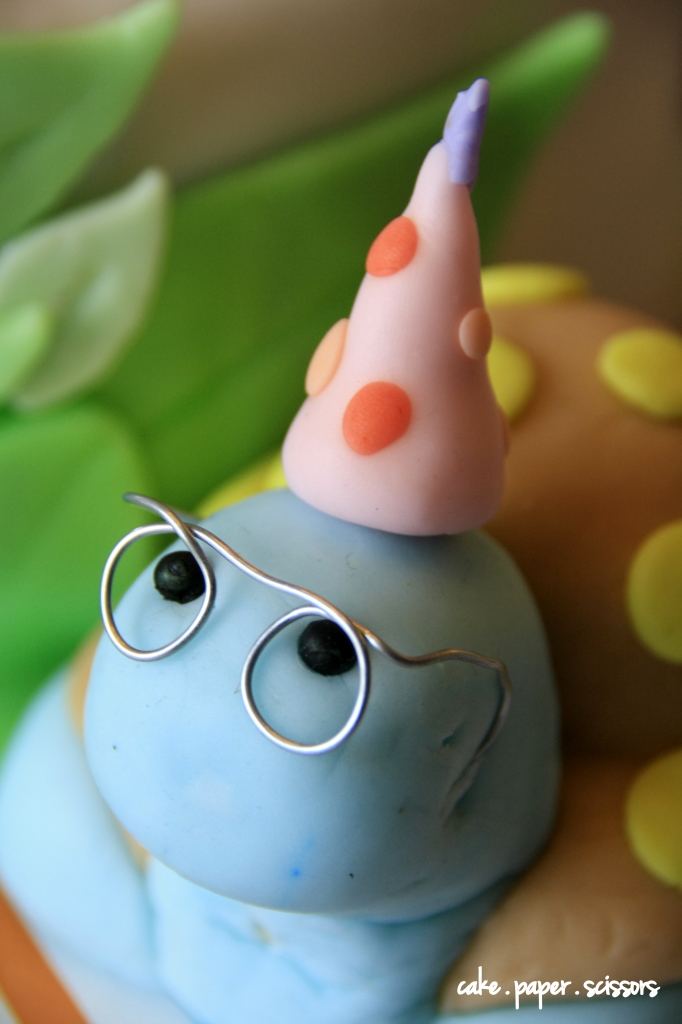
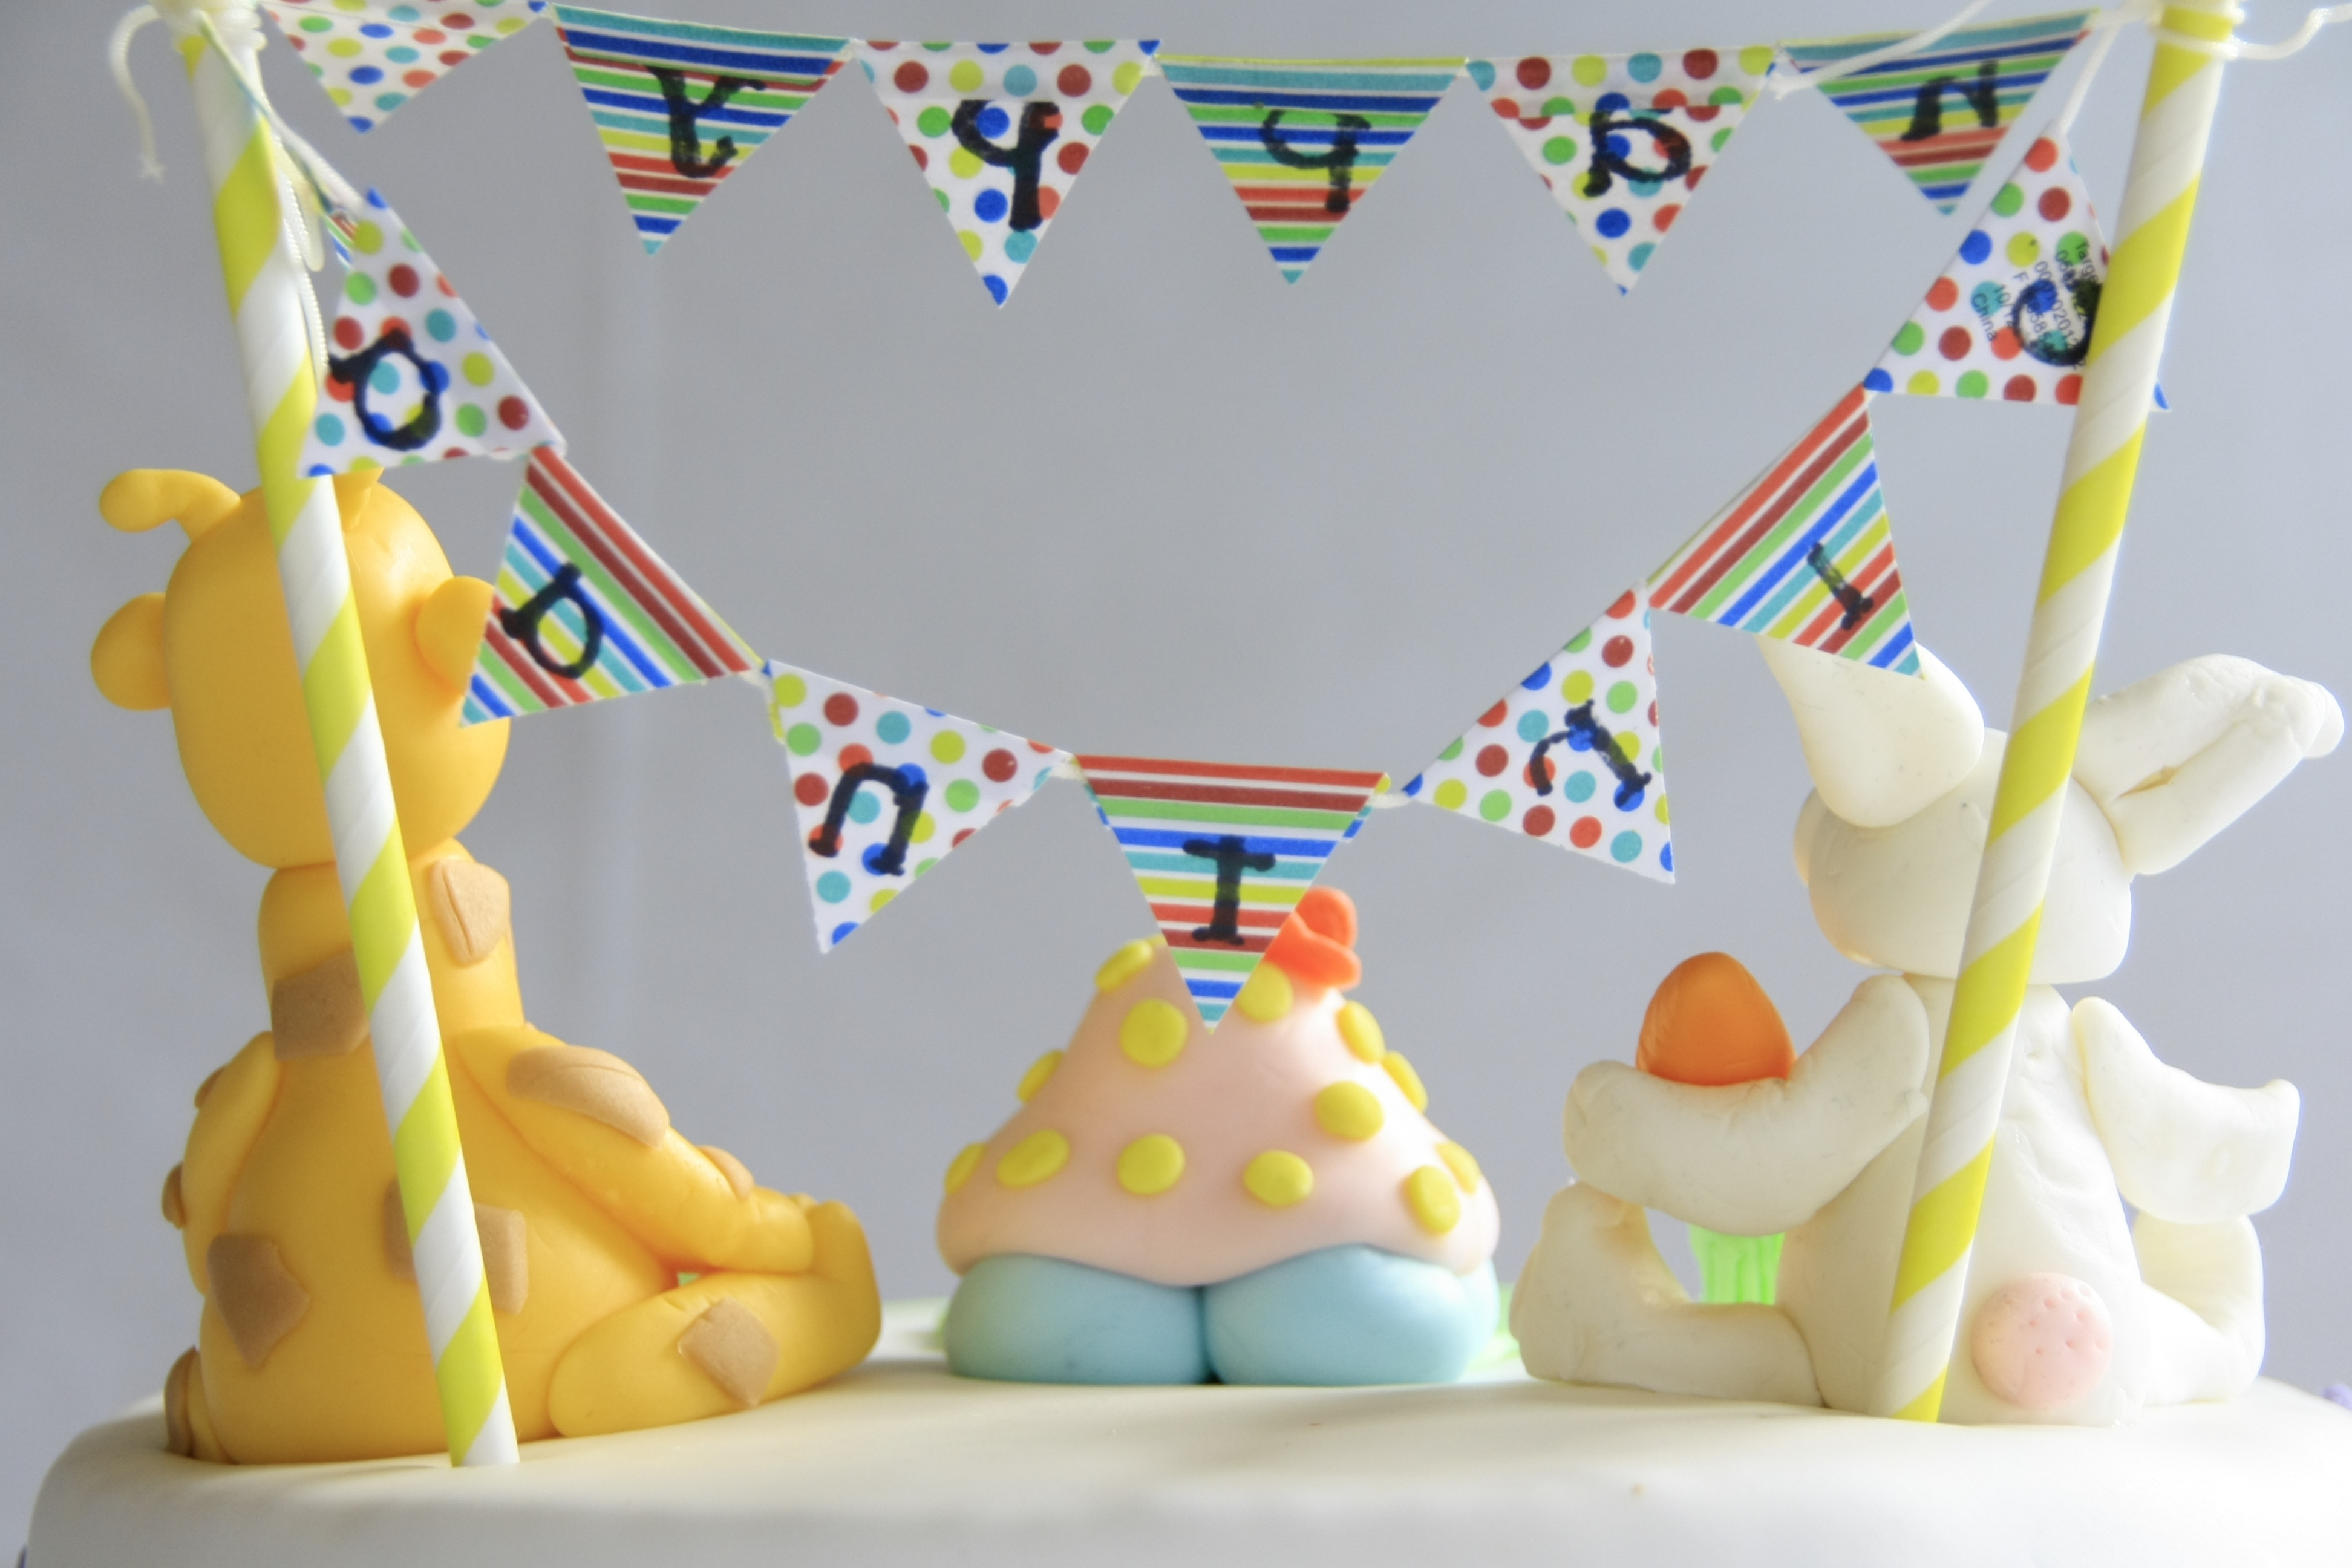
One of my favorite cakes is an animal themed birthday cake I made for a close friend’s daughter, Sophie. Sophie loves turtles so I decided to make a baby turtle with her mum and dad. I added a cute little white bunny and giraffe as well atop a fondant covered cake. I was happy with how the cake turned out, especially since Sophie loved it!
Here are a few tips to get you going on your customized cakes.
- Once your cake has cooled, cut it with a serrated knife in leveled layers.
- Build the cake, alternating between the sponge and frosting on top of a cake turntable.
- Give the cake a crumb coat. Place a big dollop of frosting at the top of the cake and use a small offset spatula to evenly spread the frosting towards the edge of the cake. Repeat the process for the sides of the cake, keeping your spatula at a 90 degree angle, while slowly spinning your turntable.
- Once the entire cake is covered, with a thin layer of frosting, place it in the fridge for 30 minutes so the cake crumbs have been sealed.
- Next, cover the cake with fondant:
I would recommend watching a couple of You Tube videos demonstrating the process of covering a cake with fondant to get an idea of the process. Here is a link I suggest:
Once your cake is covered with fondant, you are ready to design!
For this post, I will be showing you how to create a cute little fondant turtle cake topper. Once you get the hang of making one fondant cake topper you can branch out a try others.
Things that you will need:
- White Fondant.
- Gel food colors in black and two other complementary colors. I used light pink and light blue for Sophie’s turtle.
- Water and a small paintbrush.
- Using a toothpick, start by adding a very small amount of coloring gel to your white fondant to get the color you like. I like to use the Wilton gel food colors, as they are quite saturated and don’t thin out the fondant. Use the light pink fondant for the shell of the turtle and light blue for the legs and head of the turtle.
- Start by taking a small piece of the blue fondant, rolling into a ball and then molding it into a ‘tear drop’ shape. Make four of these for the legs of the turtle.
- Next, place the ‘legs’ side by side, in two rows of two. Dab some water to the fondant wherever the pieces connect to ensure a strong bond.
- For the shell, use a larger piece of pink fondant and roll into a similar shape of a teardrop, but with a softer, rounded top. Using your thumb, press the bottom of the shape inwards, to create a slightly hollow space.
- Place the shell on top of the four legs. Again, dab water wherever there is fondant contact to ensure a stronger bond.
- Once the shell is placed, make the neck and head of the turtle, using one small piece of blue fondant. Roll it out into the shape of a golf club.
- Use your paintbrush to make a slight indent on your shell, where the neck will be placed. Dab some water on the shell fondant so the neck will adhere to it.
- Attach the neck to the turtle and prop it up against an object to give it some support, whilst drying.
- With black food color, paint two little eyes on the head of the turtle. Using pink fondant, make small, circles to attach to the shell, to give the turtle a pattern.
*Refer to the graphic illustration link below for a step by step process of making the turtle cake topper.
http://www.pinterest.com/pin/564709240746151094/
Thanks for reading and good luck!
Nina Naqvi, founder Cake.Paper.Scissors


Leave a Reply